

How To Choose the Perfect Sintered Stone for Your Home?
The right sintered stone is not simply the sample that looks best under showroom lighting. The strongest choice fits the room, the application, the installation system, and the way your household will use the surface. Use this step-by-step guide to narrow the options before you approve a slab or place an order.
1. Start With the Application
Different locations place different demands on a surface:
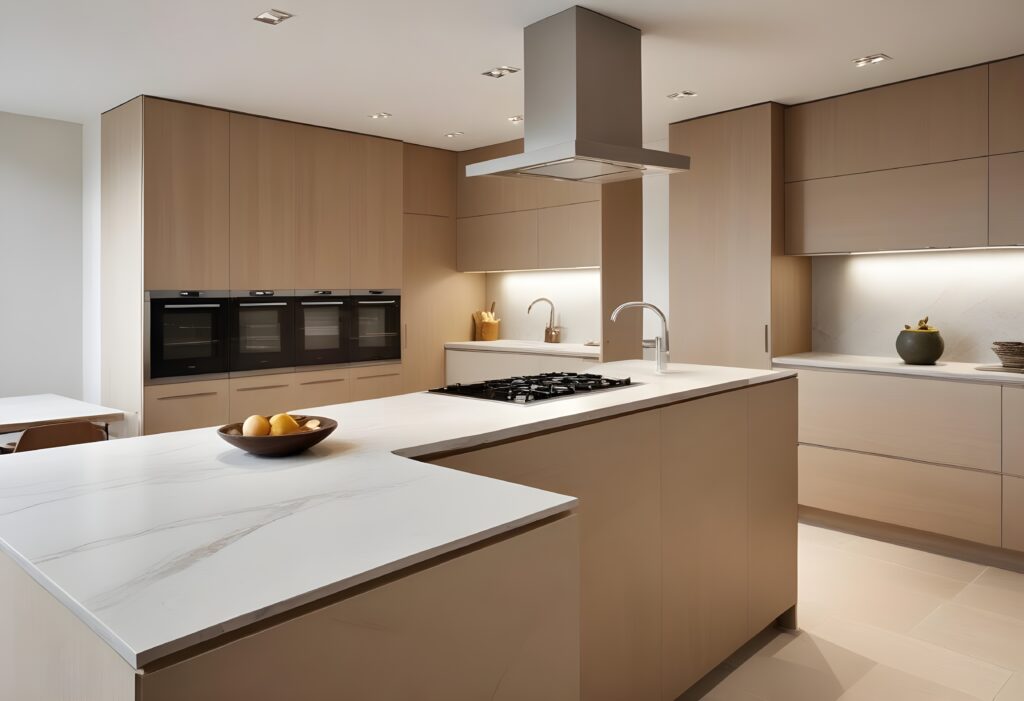
- Kitchen countertops: prioritize stain, heat, scratch, and chemical resistance, plus suitable thickness, edge design, and support around cutouts.
- Bathroom walls and vanities: prioritize low porosity, easy cleaning, compatible adhesives, and carefully detailed joints.
- Floors and showers: choose a finish with documented slip resistance for the exact wet or dry condition. A polished slab should never be assumed suitable for a wet floor.
- Fireplace surrounds: verify temperature limits, clearances, substrate, adhesive, and local code.
- Exterior walls and outdoor kitchens: require written exterior approval, UV and weather data, and an installation system designed for local conditions.
2. Choose the Visual Direction
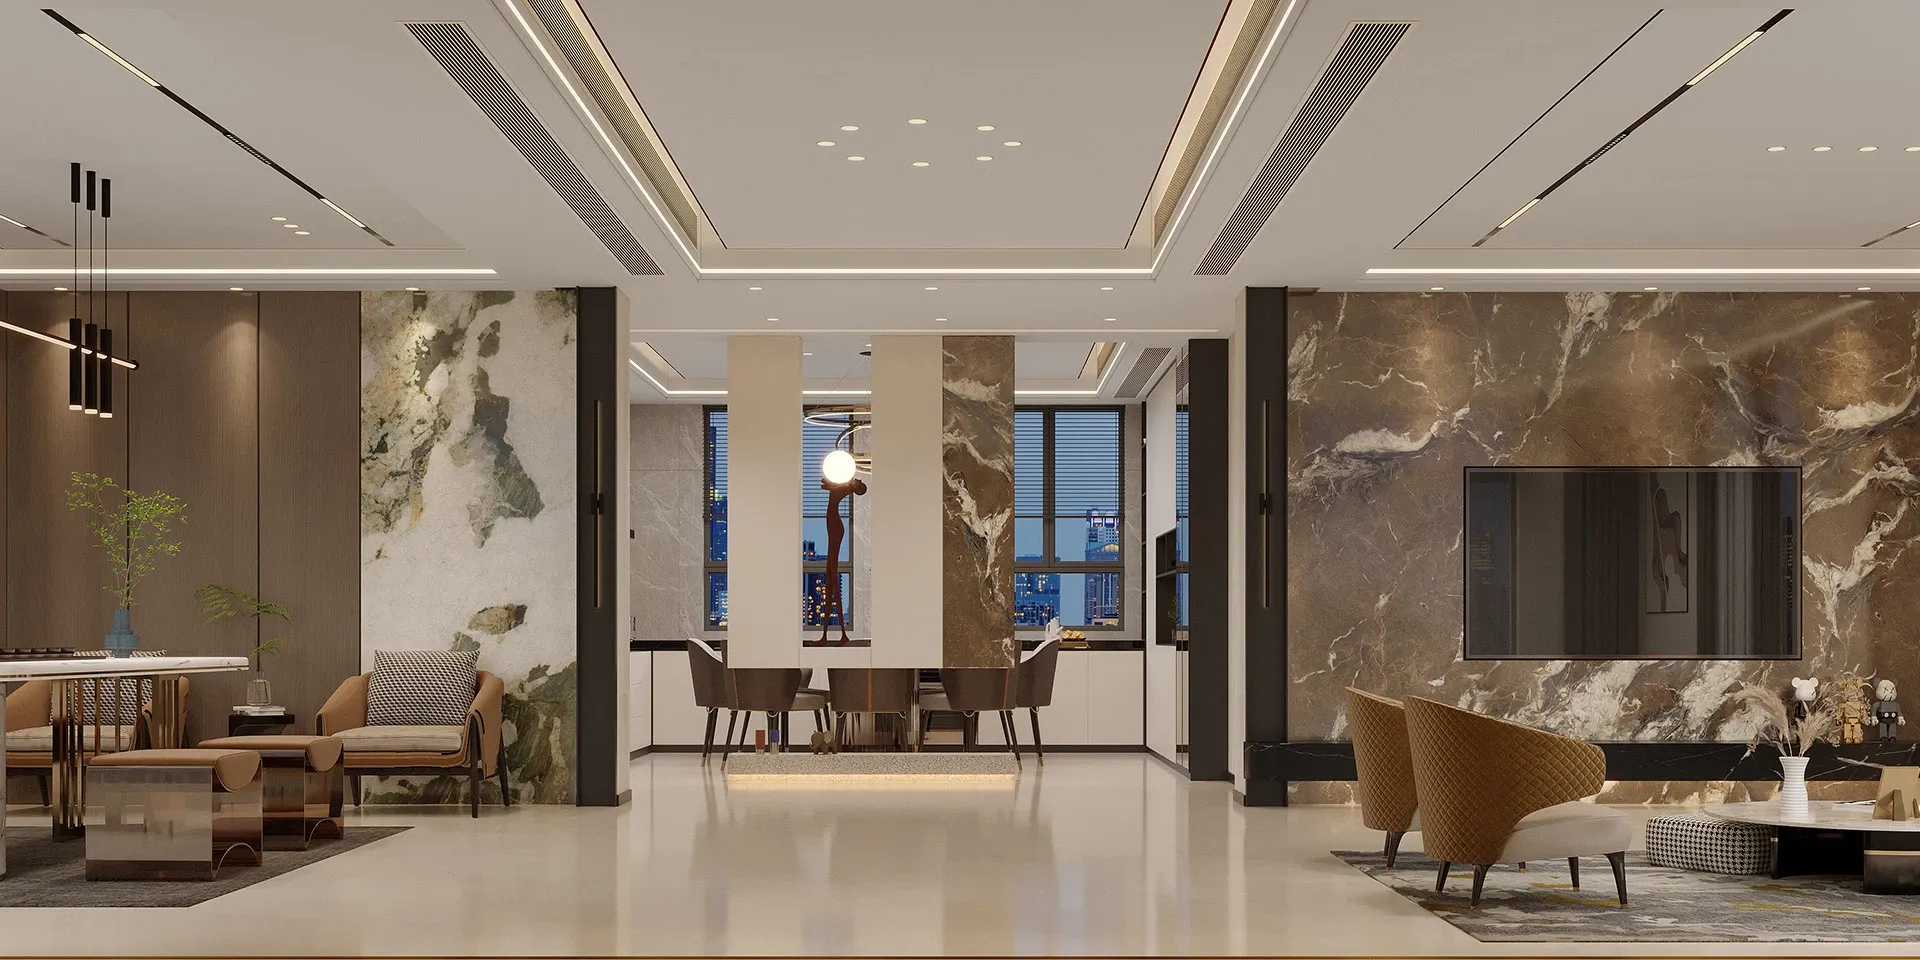
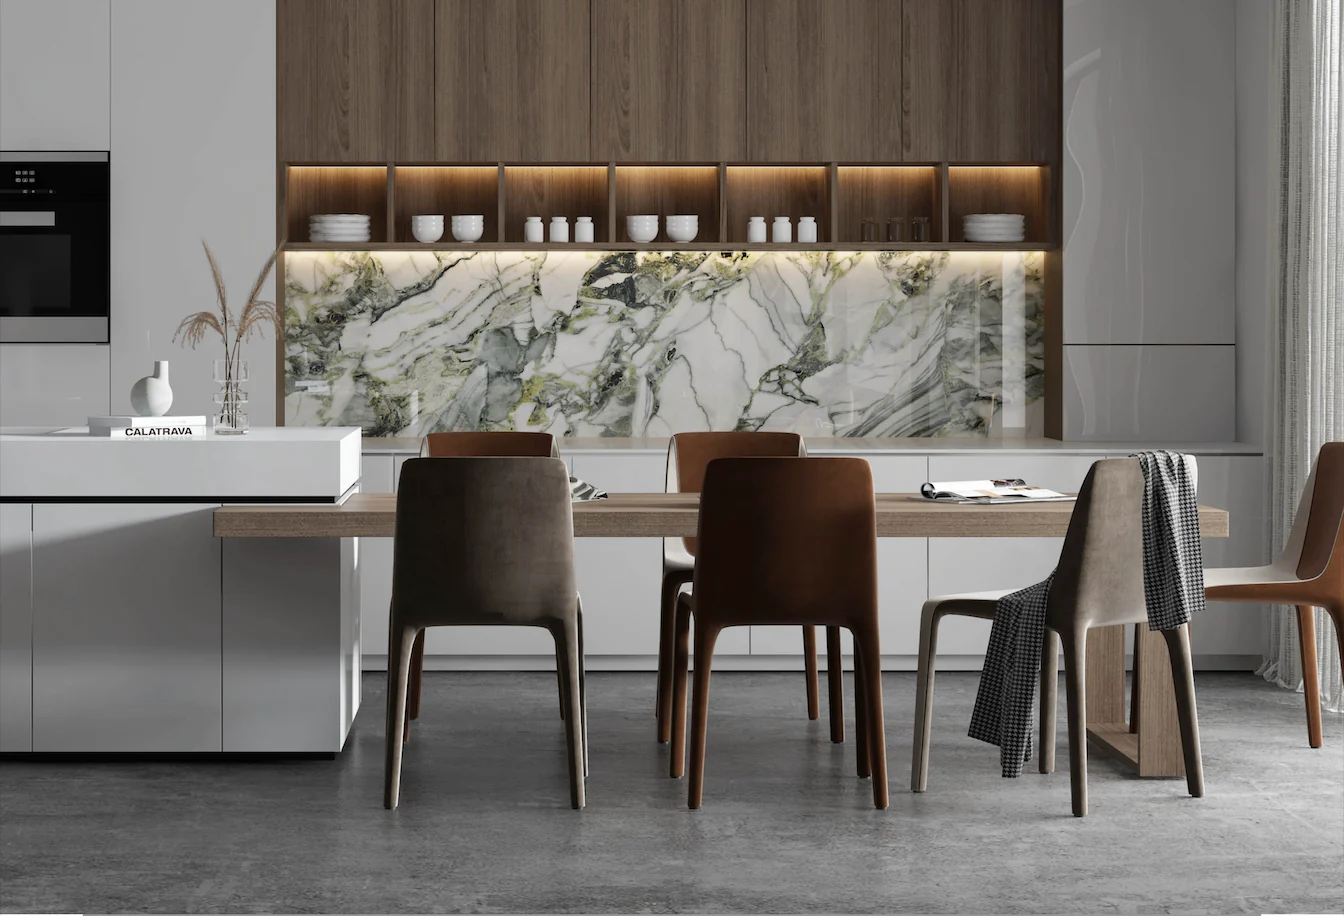
Decide whether the surface should be a quiet background or the main design feature. Soft whites, warm beiges, and light greys can make a compact room feel calmer. Dark charcoal, brown, green, and dramatic veining create contrast and visual weight. Stone-inspired collections such as the Marmo Series work well when movement and veining are important, while the Grota Series offers travertine-inspired rhythm for architectural cladding.
3. Review the Full Slab
A small sample shows color and finish, but it cannot show pattern scale, vein placement, or the way multiple pieces will meet. Review a full slab image or the physical slab whenever possible. For islands, book-matched walls, and waterfall edges, approve a cutting layout that shows seams and vein direction before fabrication begins.
4. Select the Right Format and Thickness
Large formats can reduce joints and create a continuous appearance, but they also affect access, transport, support, fabrication, and installation. Thin slabs may be ideal for vertical cladding or furniture skins; countertop work normally uses a thickness and reinforcement system approved by the supplier and fabricator. Do not choose thickness on appearance alone.
5. Match the Finish to the Room
- Polished: reflects more light and intensifies color, but can show fingerprints and requires finish-specific cleaning.
- Matte or soft-touch: offers a quieter, contemporary appearance and can reduce glare.
- Textured: adds tactile depth and may support grip, but can hold more residue and needs a suitable cleaning method.
Finish names are not standardized across manufacturers. Compare the actual sample and technical data instead of assuming two products with the same marketing term will behave identically.
6. Test Samples in Your Lighting
Daylight direction, warm or cool lamps, cabinet colors, flooring, and paint can change the way a slab reads. View samples vertically and horizontally in the intended room, in morning and evening light. Place them beside the final cabinet, metal, timber, and paint samples.
7. Plan Fabrication Before Confirming the Order
Discuss seam positions, edge profiles, sink and hob cutouts, corner radii, overhangs, waterfall joints, pattern alignment, and access with the fabricator. Ask how many slabs are required and whether the slabs should come from the same production batch. This conversation can prevent redesign, waste, and visible compromises later.
8. Compare the Total Installed Cost
Budget for more than the slab. Include templating, cutting, edge work, transport, lifting, adhesive or mechanical fixings, substrate preparation, reinforcement, installation, waste, and related plumbing or electrical work. A lower material price can be offset by a complex layout, difficult access, or additional slabs needed for vein matching.
9. Verify Performance and Environmental Documents
Request the technical data sheet, care guide, warranty, safety data, and application approvals. For sustainability claims, look for a current Environmental Product Declaration, recycled-content evidence, and emissions certifications. Avoid treating “natural minerals” or “recyclable” as proof of a lower overall environmental impact.
Final Selection Checklist
- The exact product is approved for the intended application.
- The finish is suitable for cleaning, slip, and exposure conditions.
- The full slab pattern and cutting layout have been reviewed.
- Thickness, edges, cutouts, support, and access are agreed with the fabricator.
- The quotation includes the complete installed scope.
- Care, warranty, and technical documents are saved with the project file.
Choose With Confidence
A successful sintered stone project balances appearance with verified technical performance. Start with the room, compare real samples, review the complete slab, and involve the fabricator early. Browse the Lithic Slabs gallery for design ideas, then contact sales@lithicslabs.com to confirm current formats, finishes, and availability.